
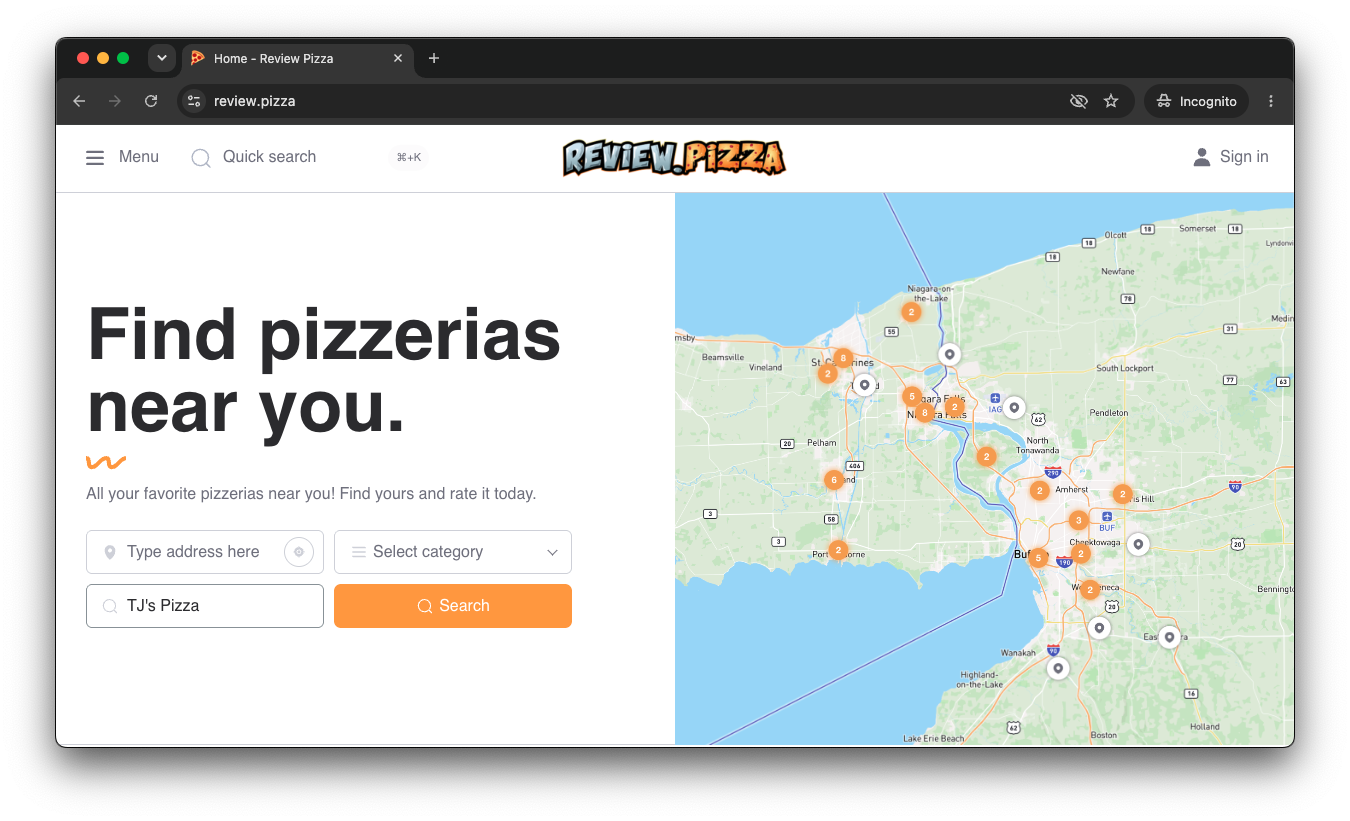
Go to review.pizza.
Enter your pizzeria’s name into the search bar on the homepage (e.g., “TJ’s Pizza”).
Click Search.
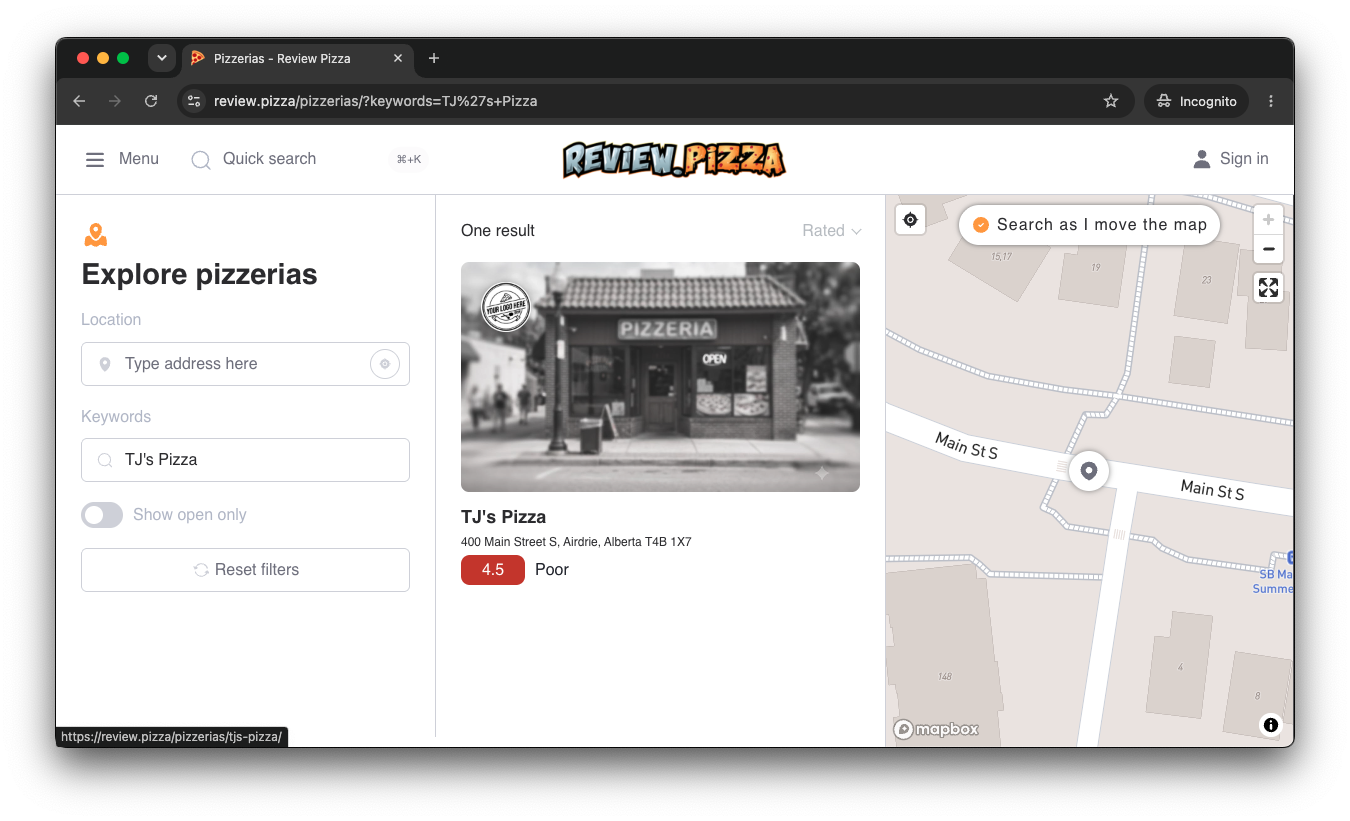
Find your location in the search results or on the interactive map.
Click on your pizzeria’s card to open its main profile page.
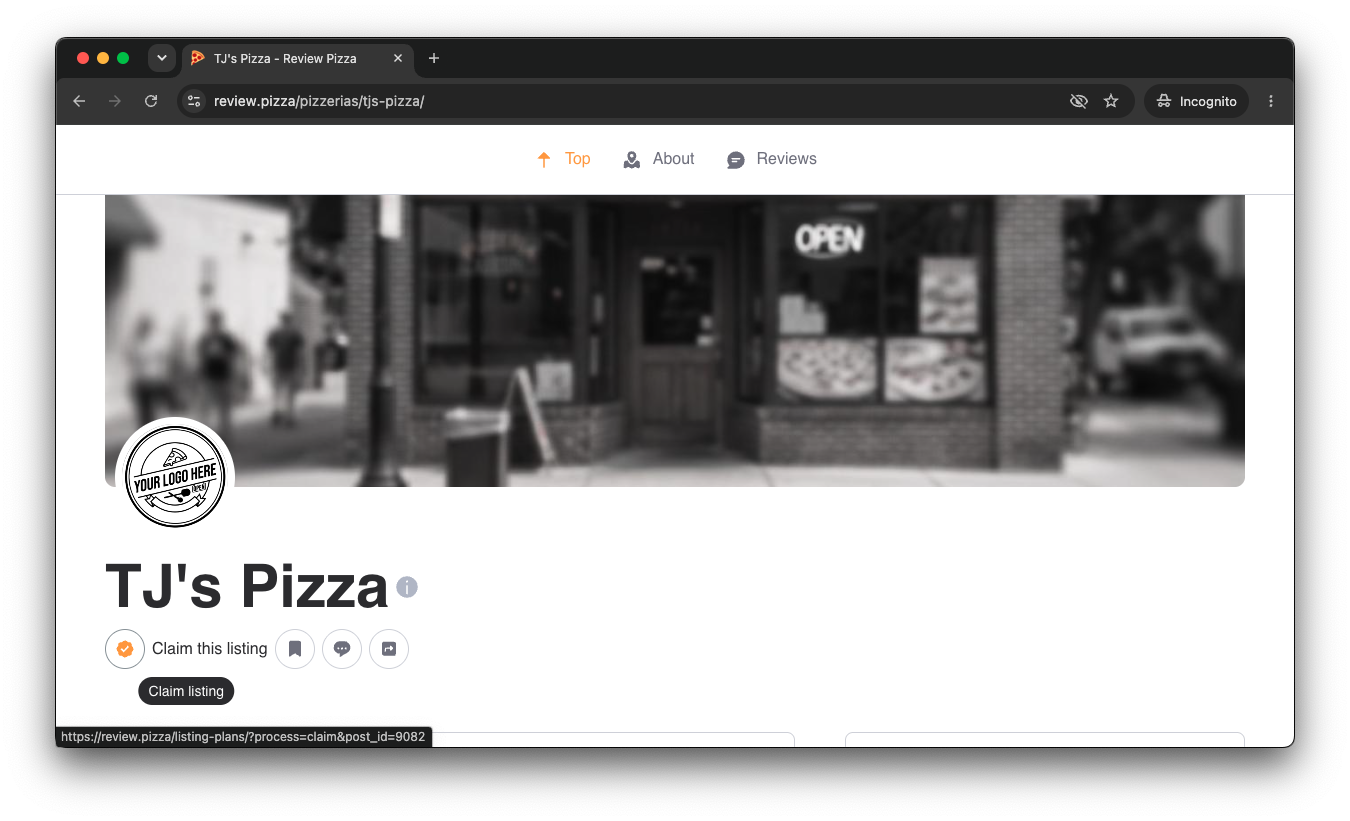
On your pizzeria’s profile page, locate the Claim listing button underneath the shop title and click it.
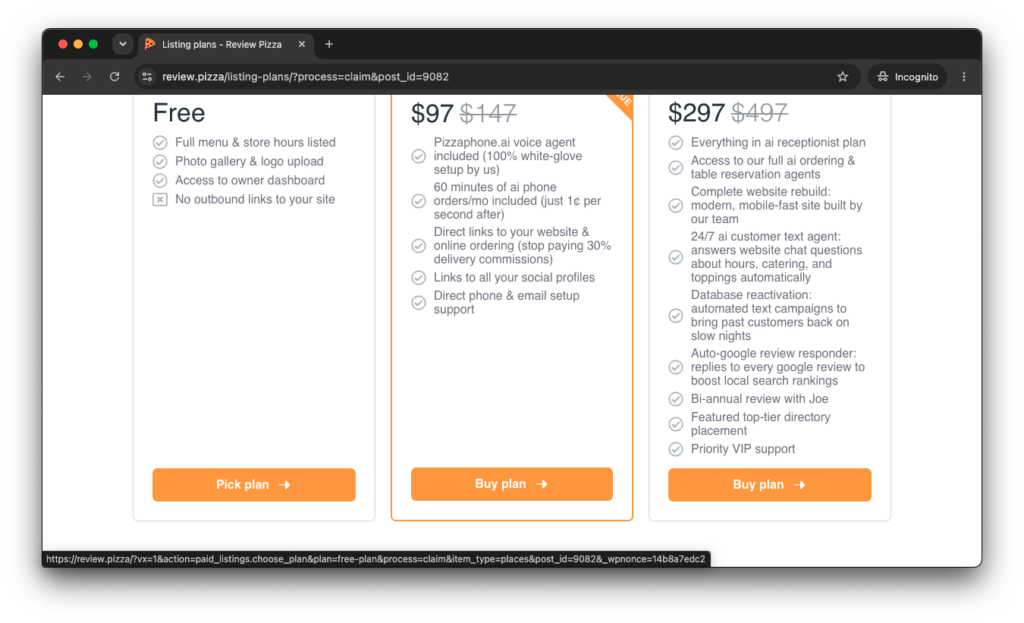
Select the plan that works best for your business.
To get started free, click Pick plan under the Free / Starter plan option.
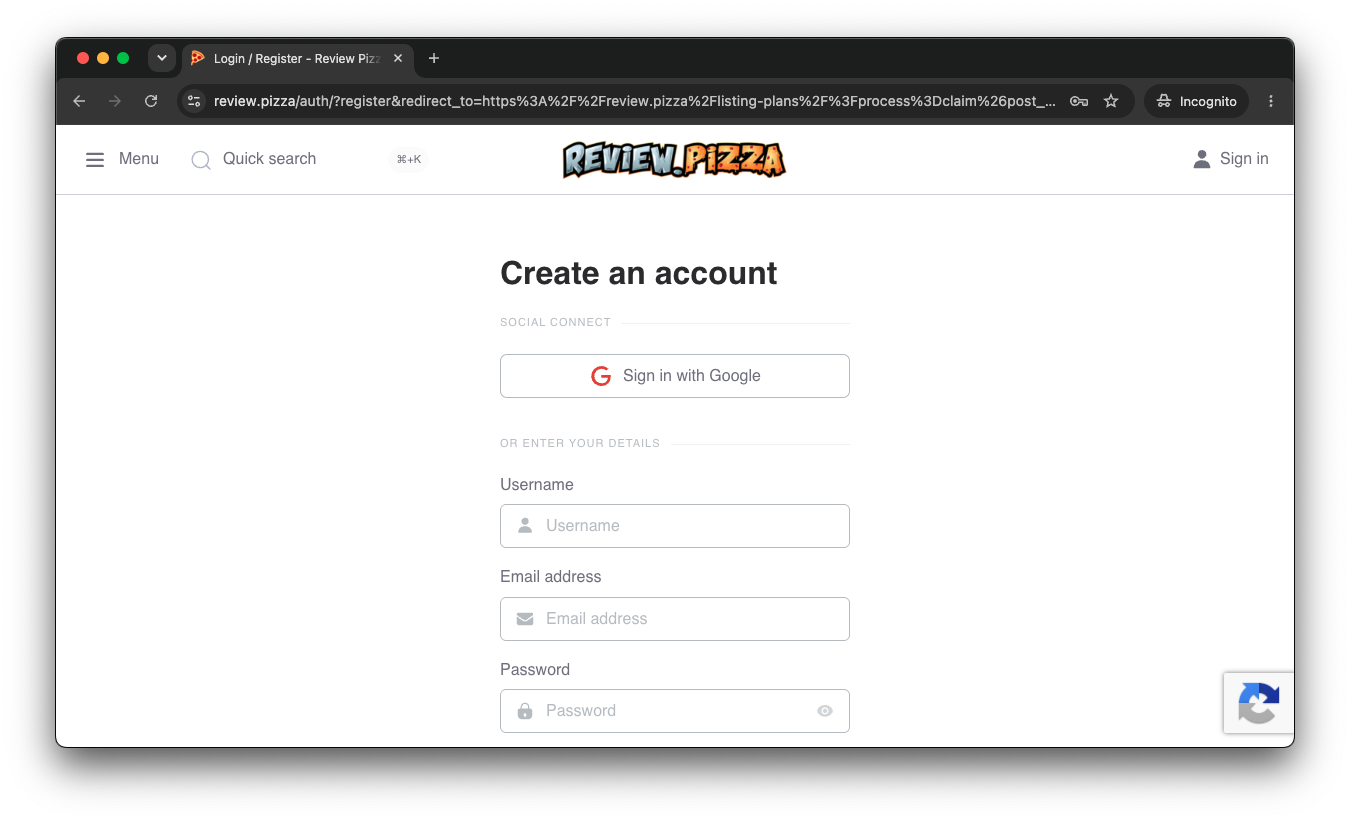
If you don’t have an account yet, you will be prompted to create one.
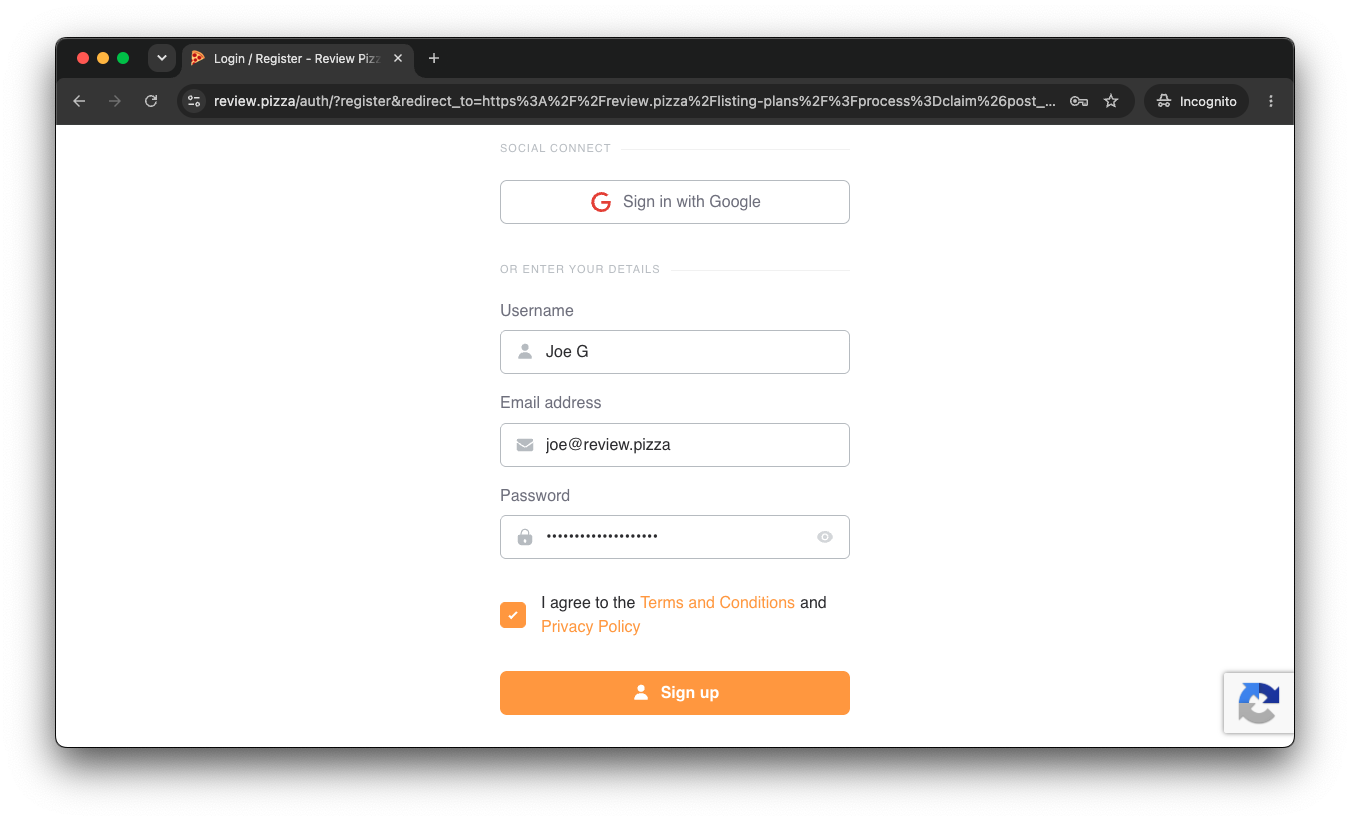
Enter your desired Username, Email address, and Password.
Check the box agreeing to the Terms and Conditions and click Sign up (or choose Sign in with Google).
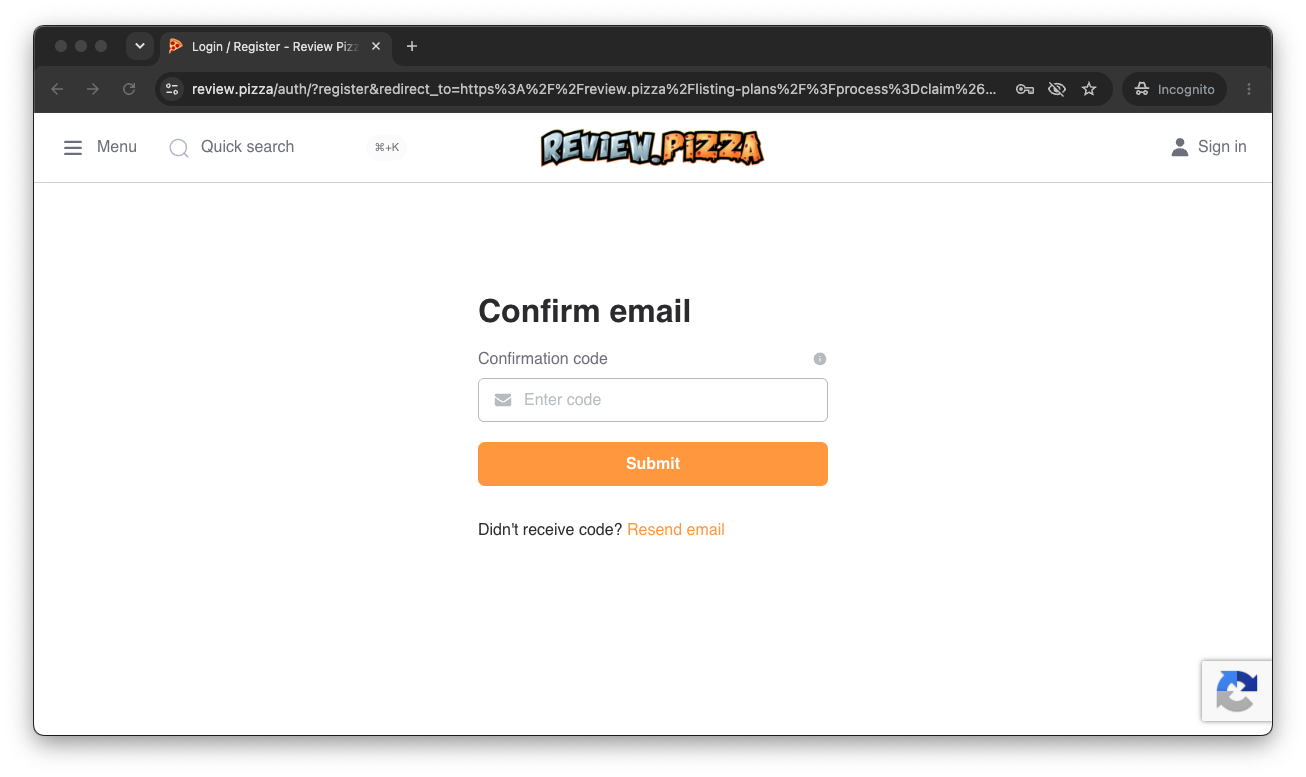
Check your inbox for a confirmation code.
Enter the code on screen and click Submit.
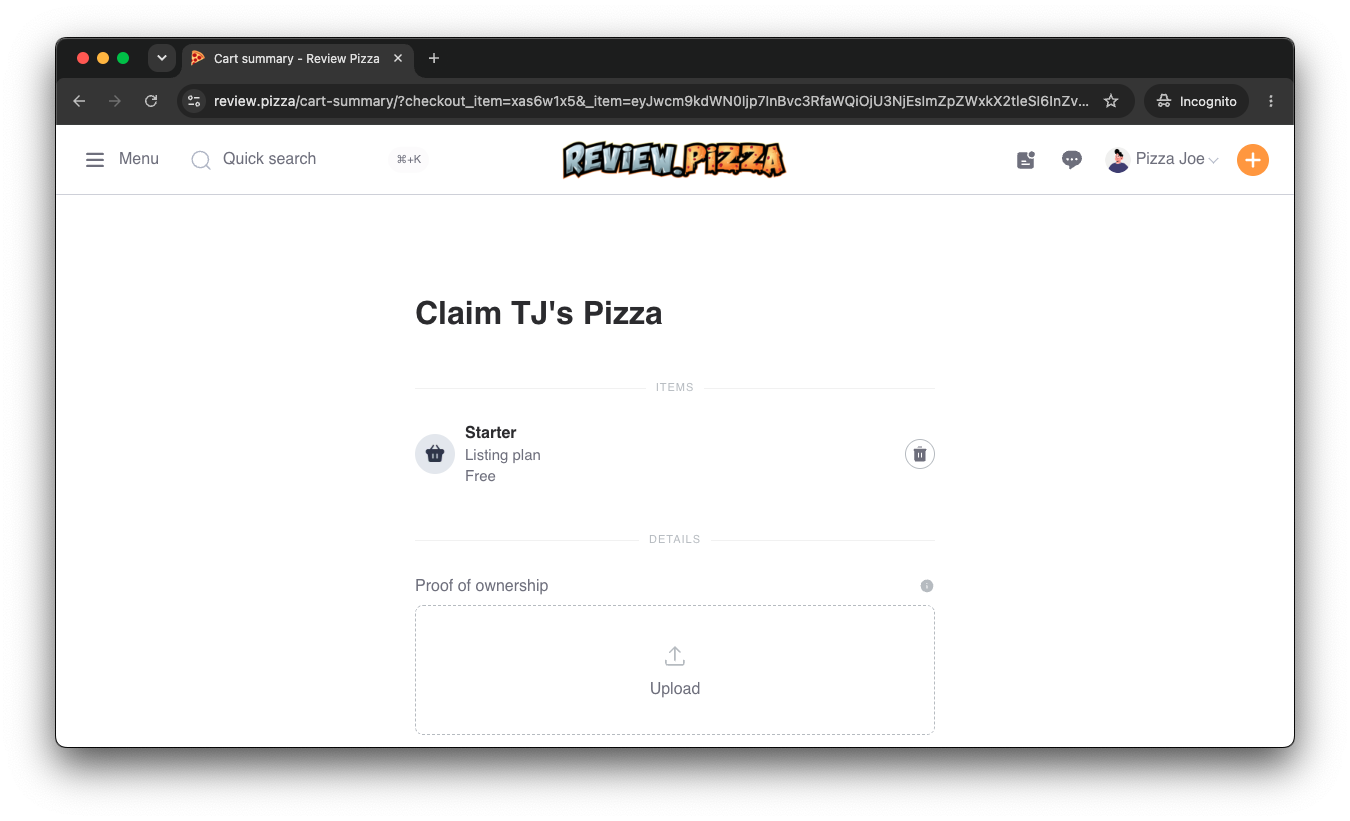
You will be taken to the Cart Summary / Claim page for your listing.
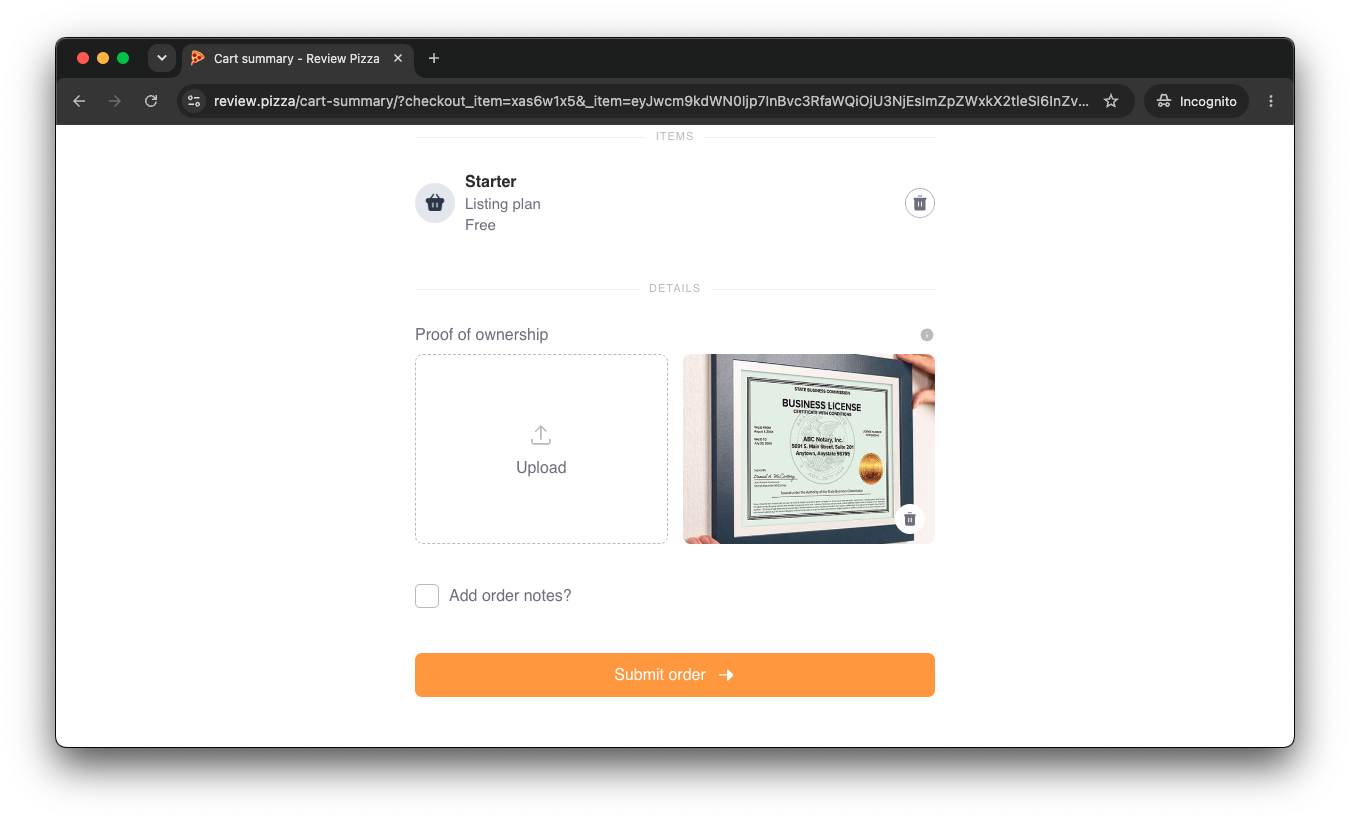
Click Upload under Proof of Ownership.
Attach an official document proving ownership (e.g., business license, utility bill, or official documentation).
Click Submit order.
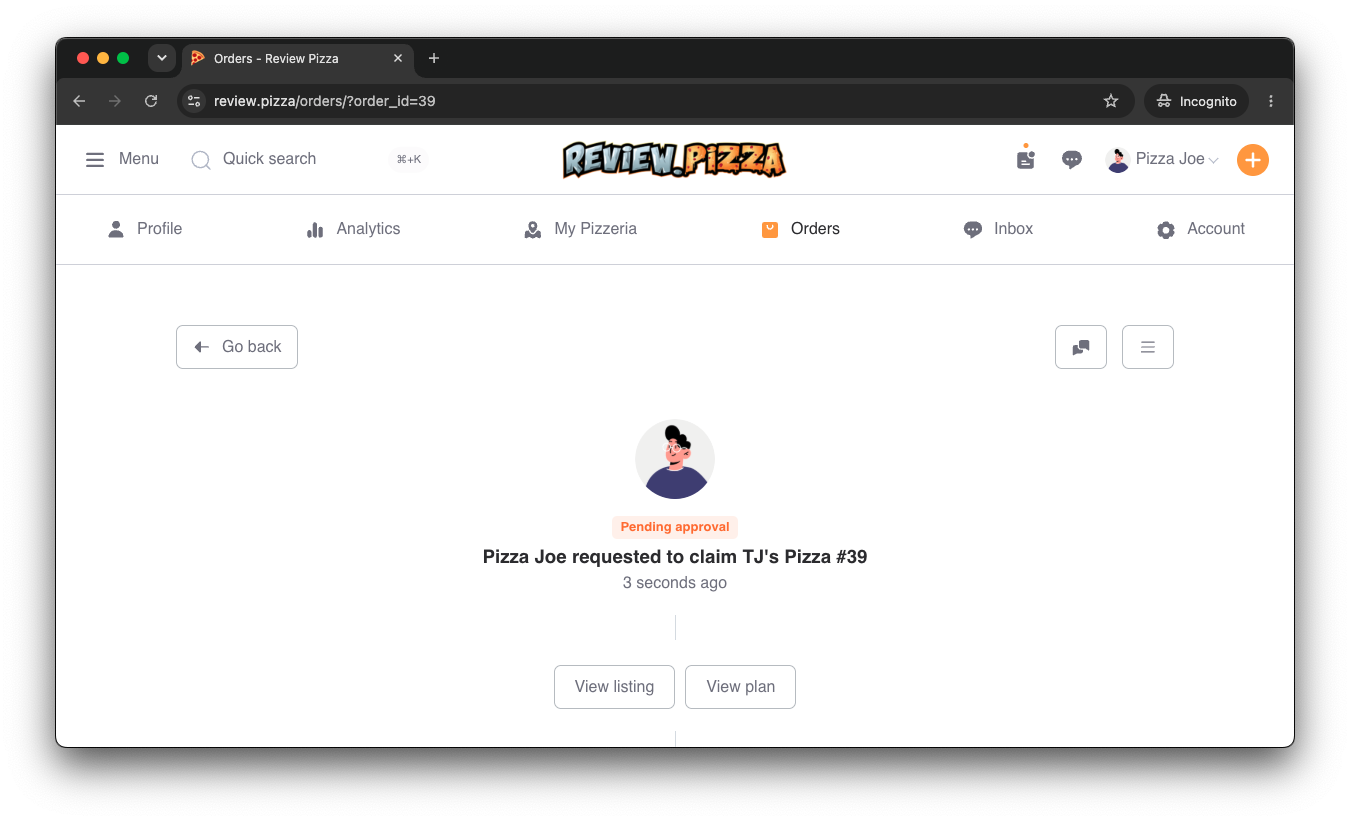
Your claim request is now Pending approval!
Our team will verify your document. You can check back on this page anytime to view your listing status.
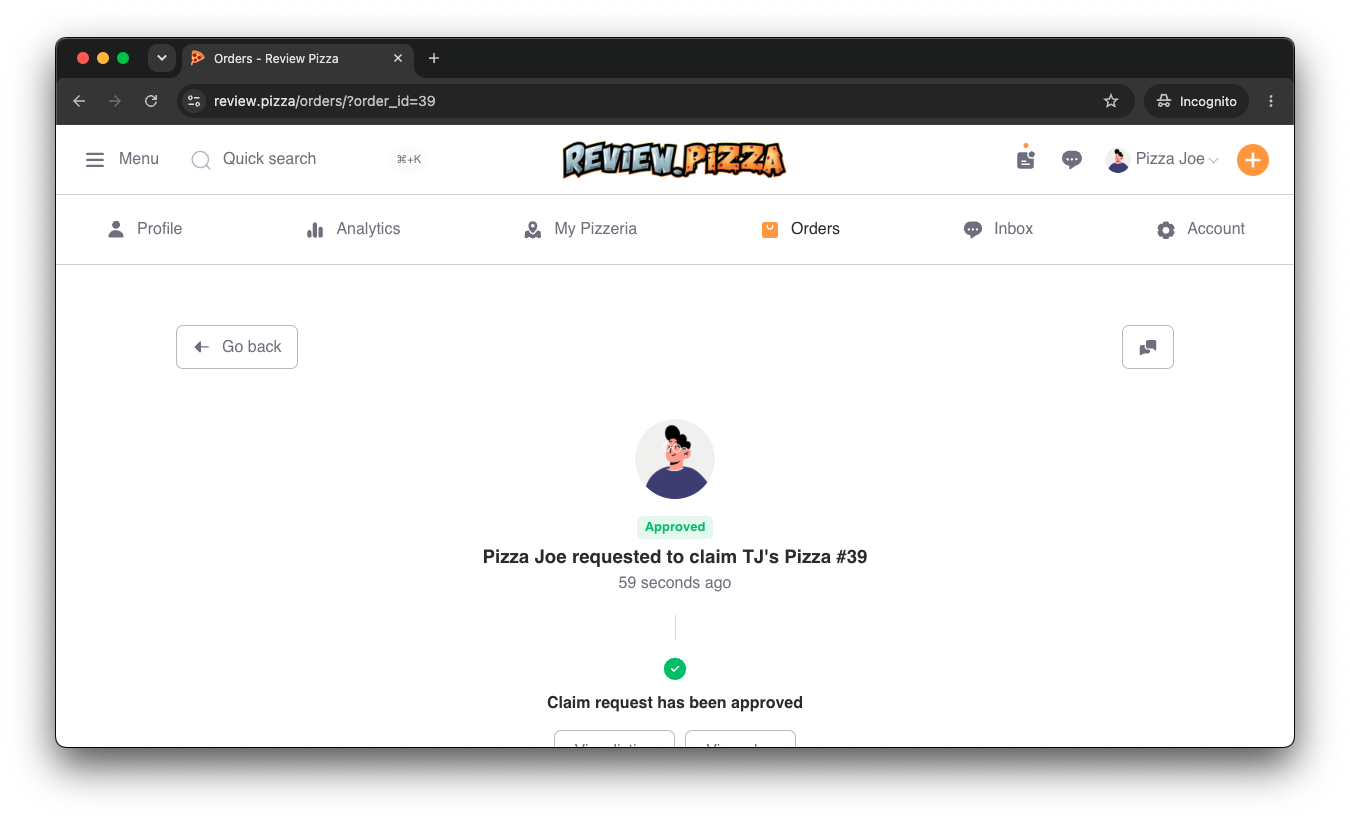
Once our team verifies your document, your request will switch to Approved green status.
You are now officially the verified owner of your pizzeria’s listing!
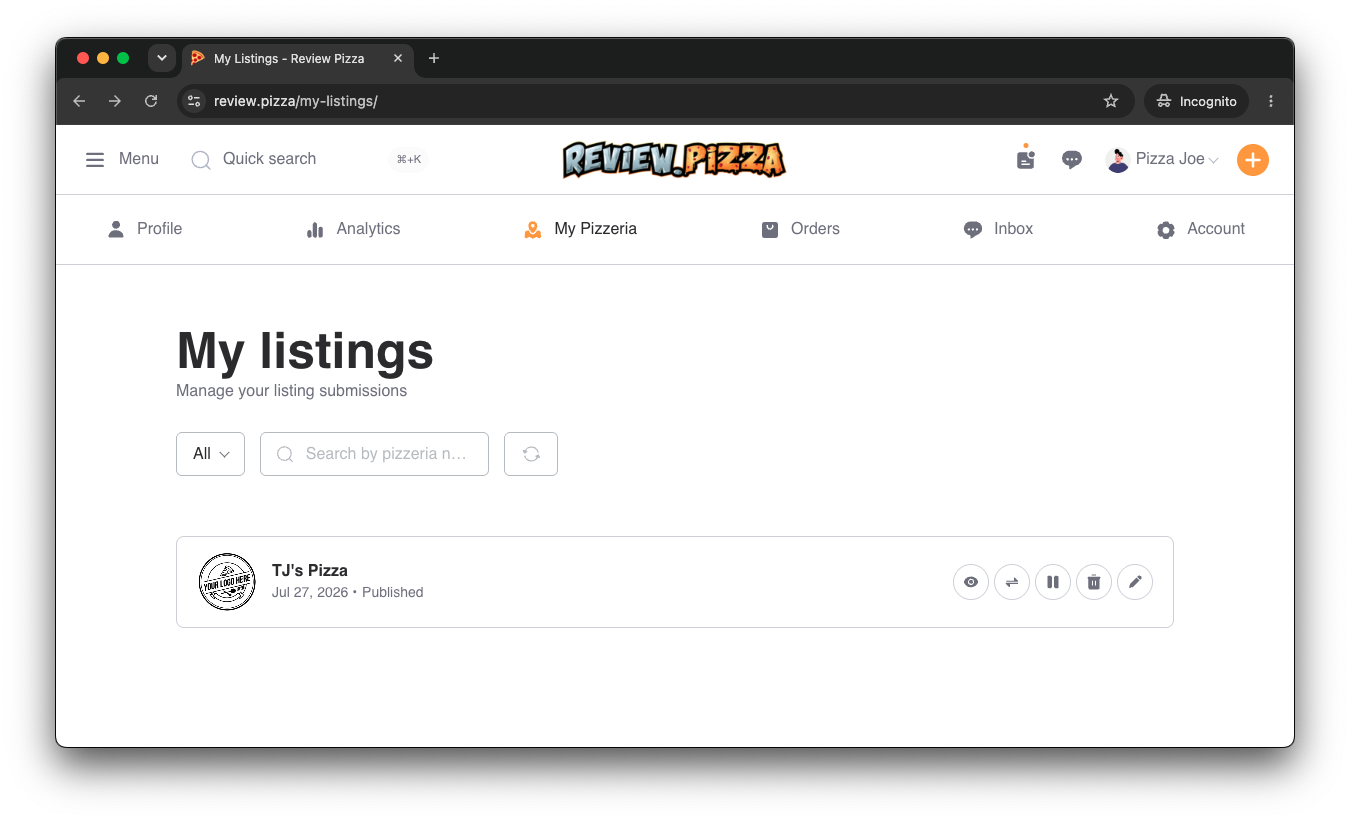
Go to your dashboard and click on My Pizzeria (or My listings) to manage your claimed shop.
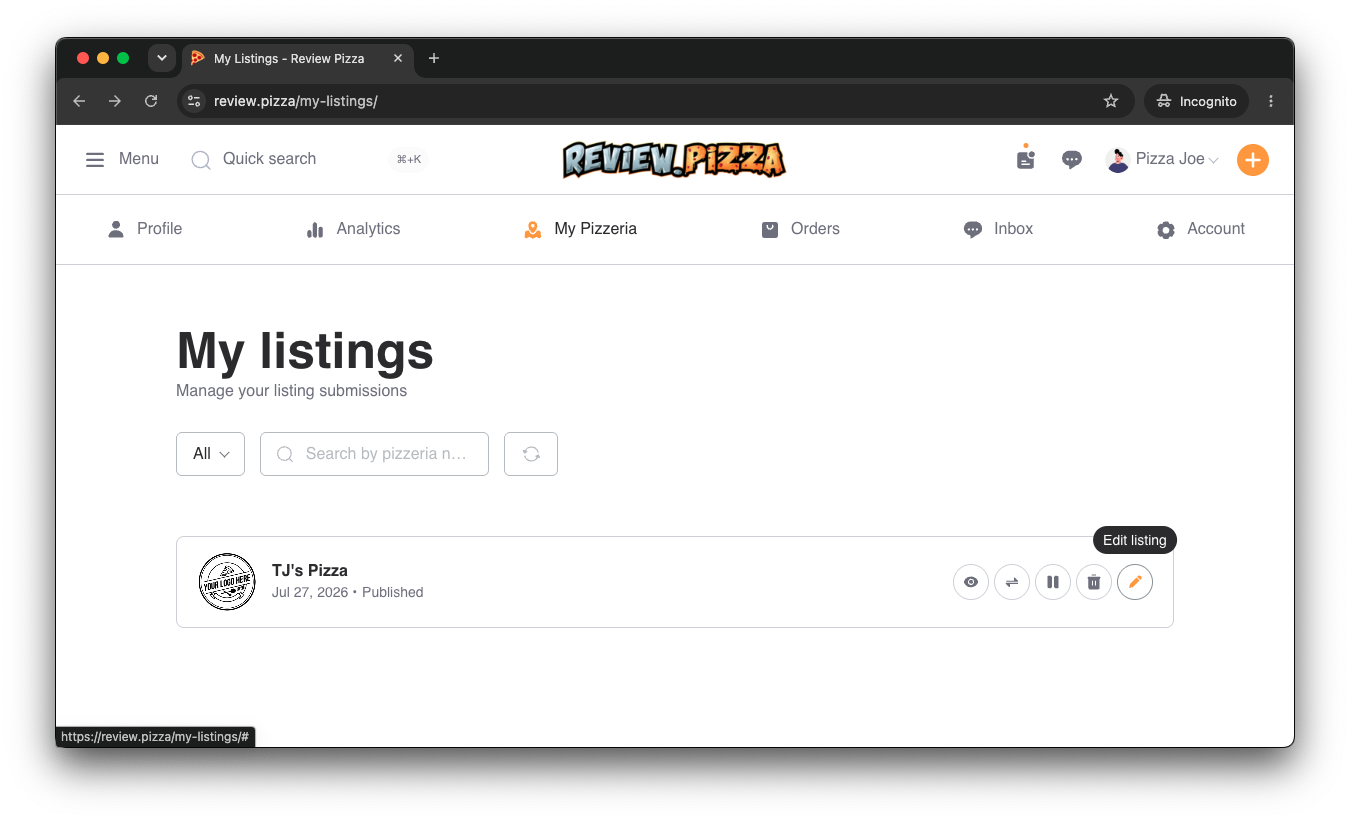
Hover over or locate your published pizzeria listing.
Click the pencil icon (Edit listing) on the right side of your listing card.
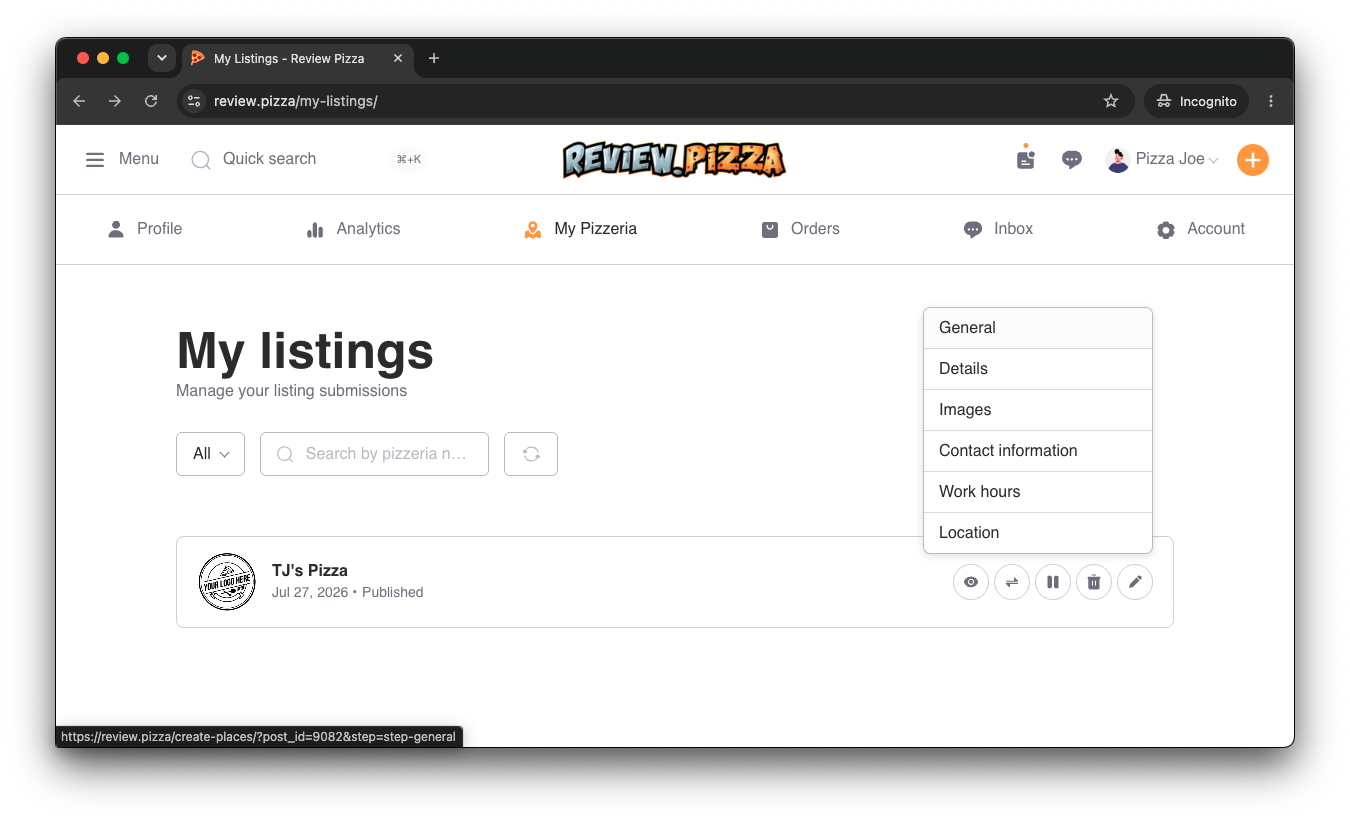
Clicking the edit dropdown reveals management sections: General, Details, Images, Contact information, Work hours, and Location.
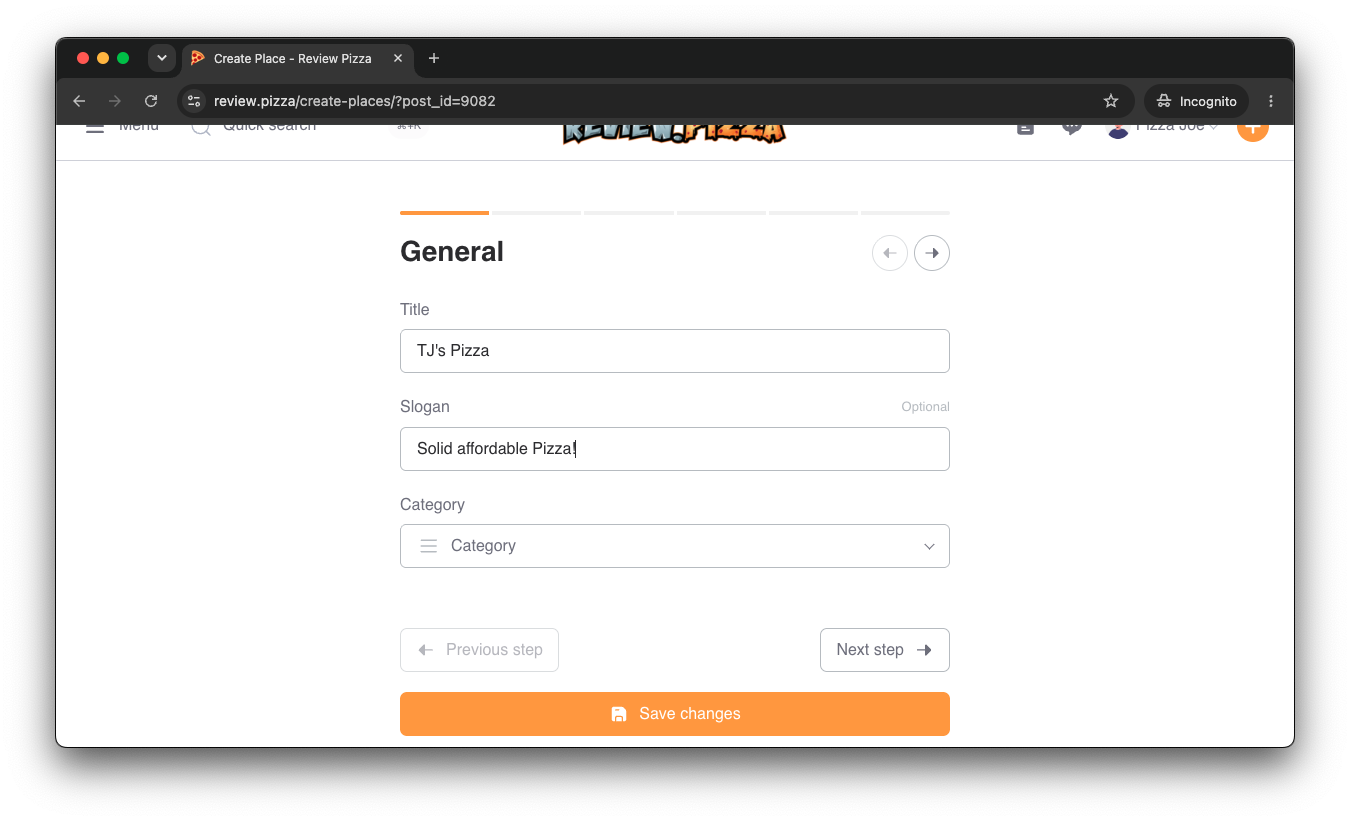
Update your store’s Title and enter a catchy Slogan (e.g., “Solid affordable Pizza!”).
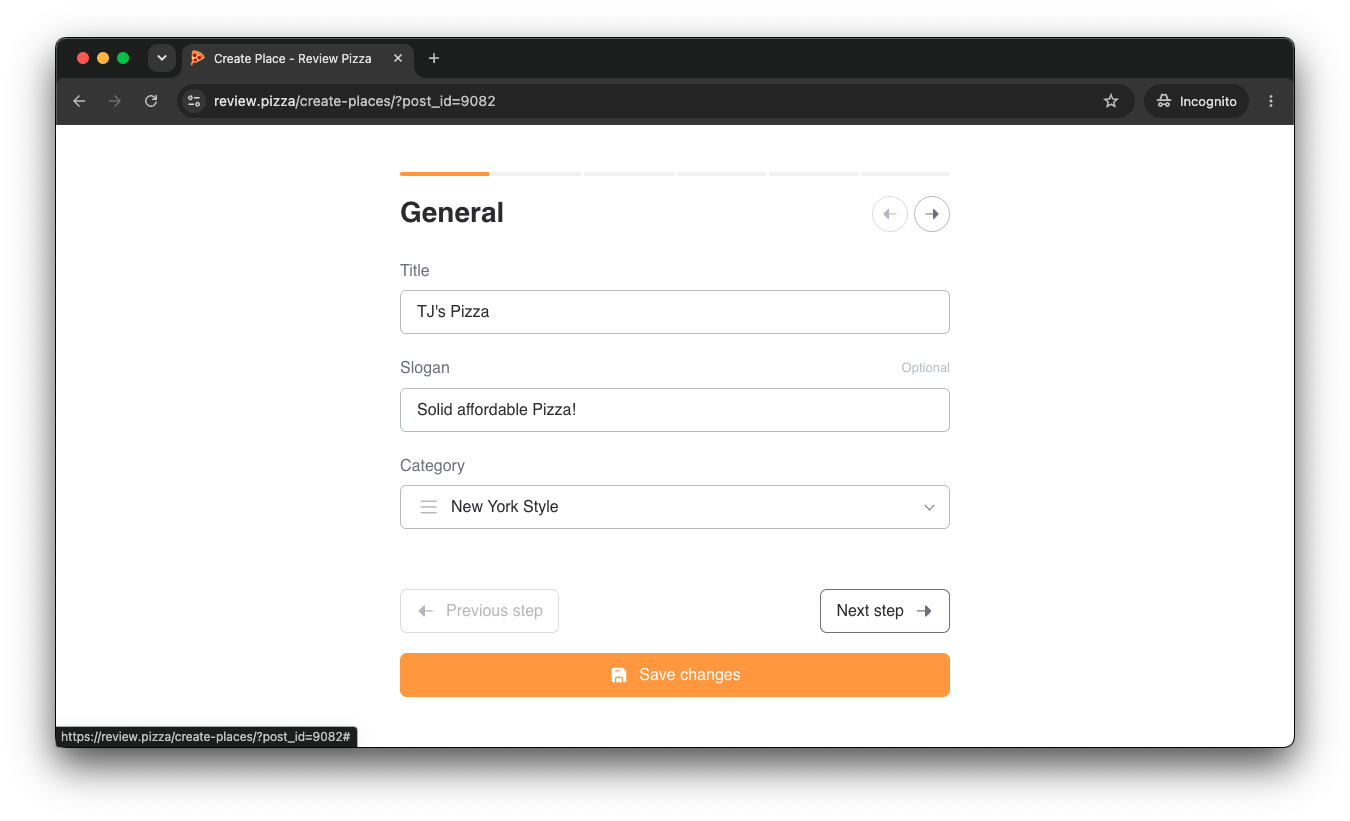
Under Category, choose your pizzeria’s primary style (e.g., New York Style, Neapolitan, Chicago Deep Dish).
Click Next step (or Save changes).
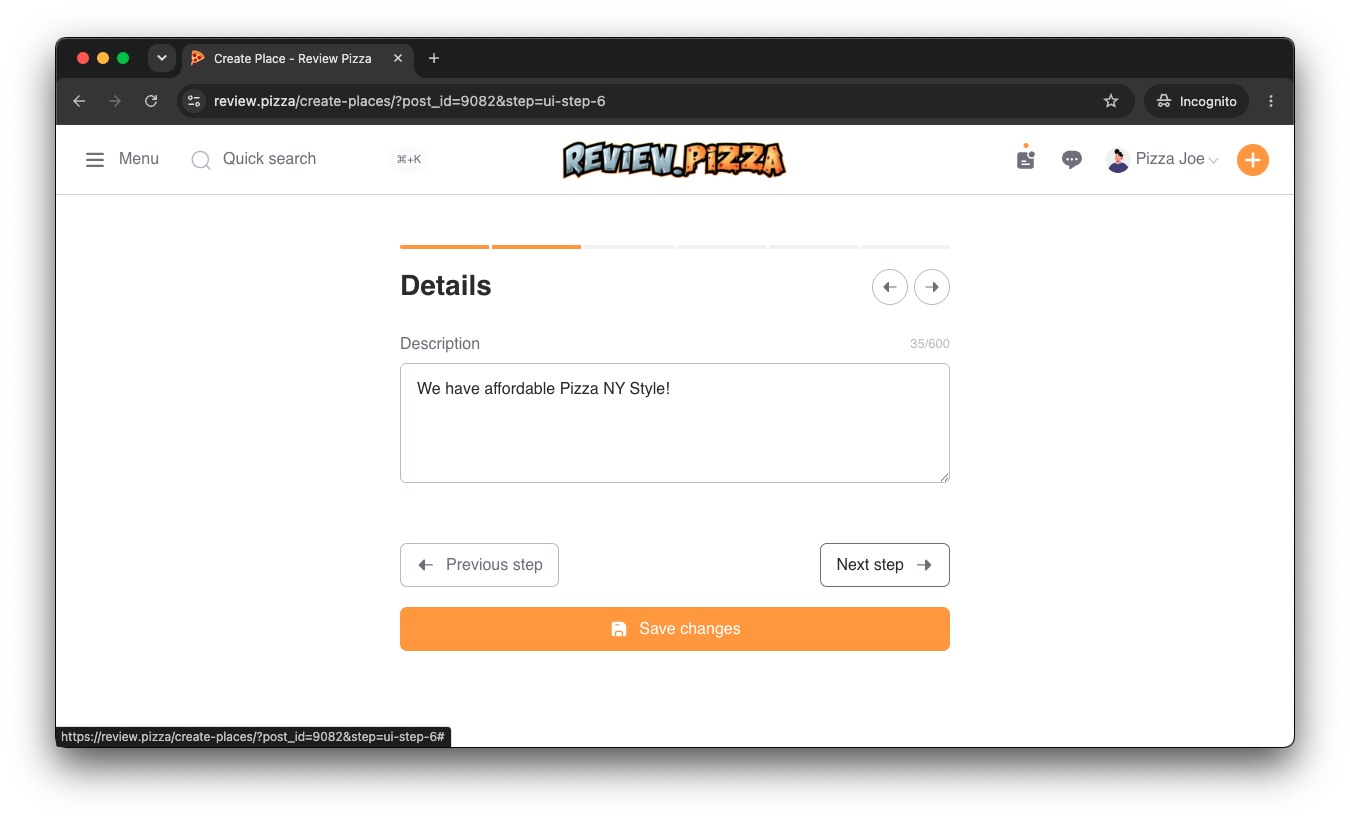
Write a custom bio or description under Details letting customers know what makes your pizza special.
Click Next step.
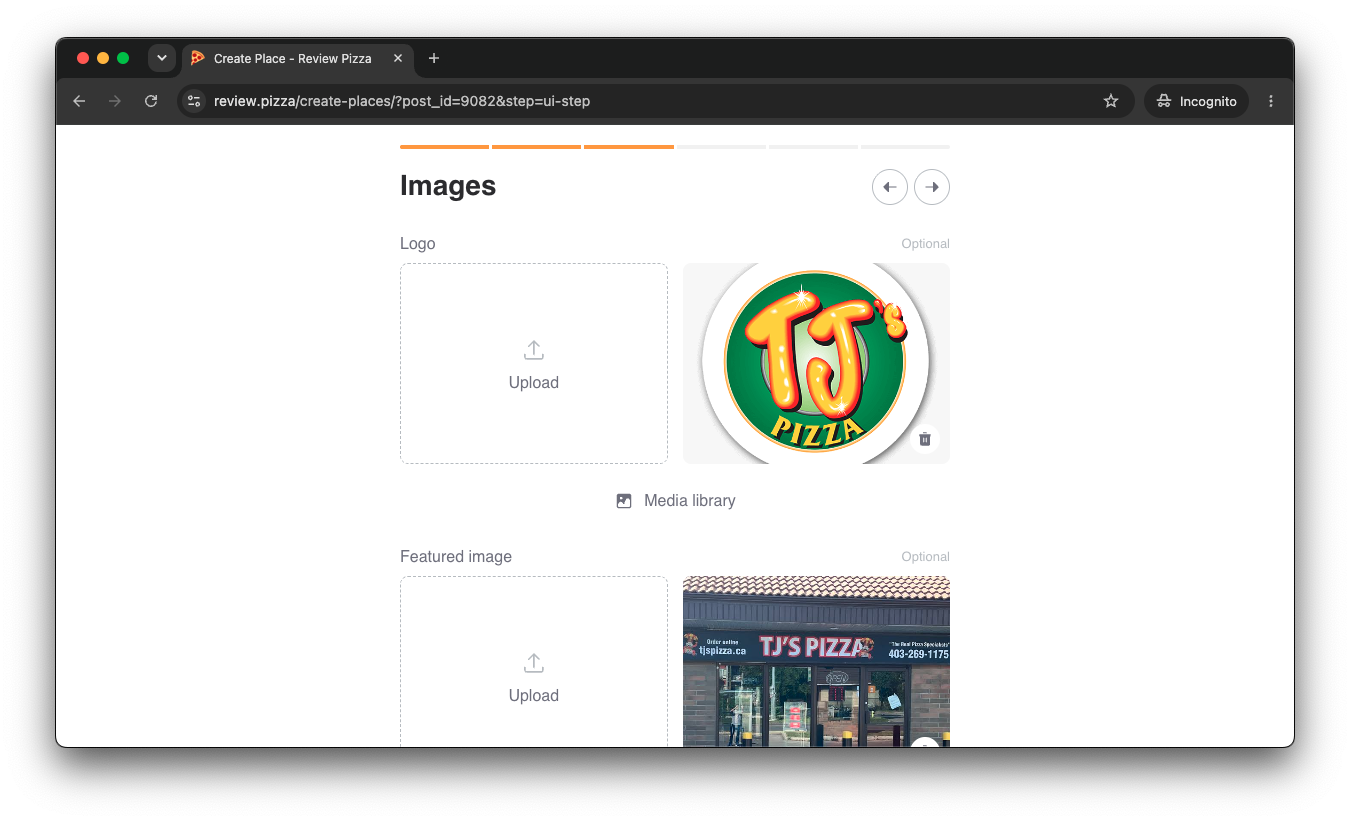
Go to the Images tab to upload your official store logo and storefront image under Featured image.
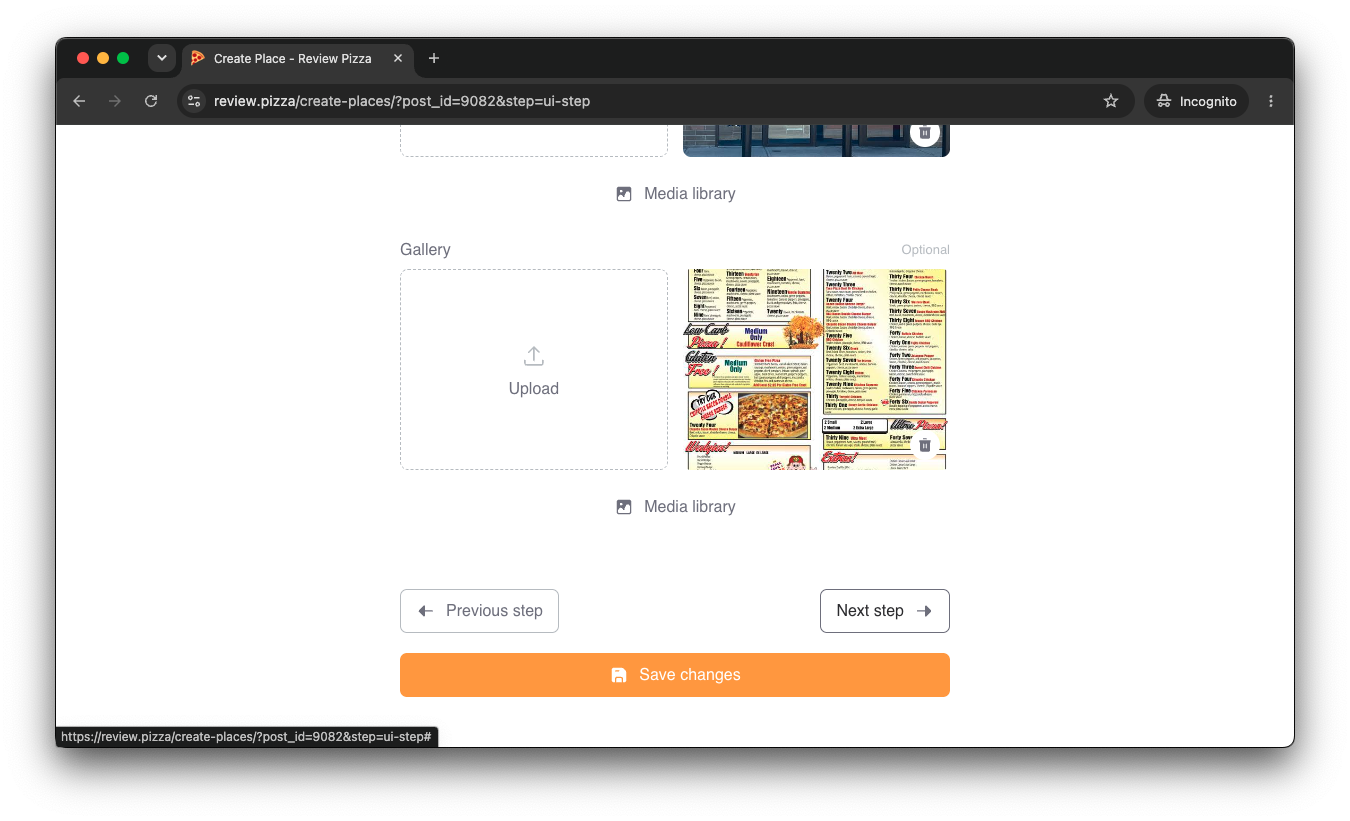
Scroll down to Gallery to upload high-res photos of your menu, storefront, or pizza slices.
Click Next step or Save changes.
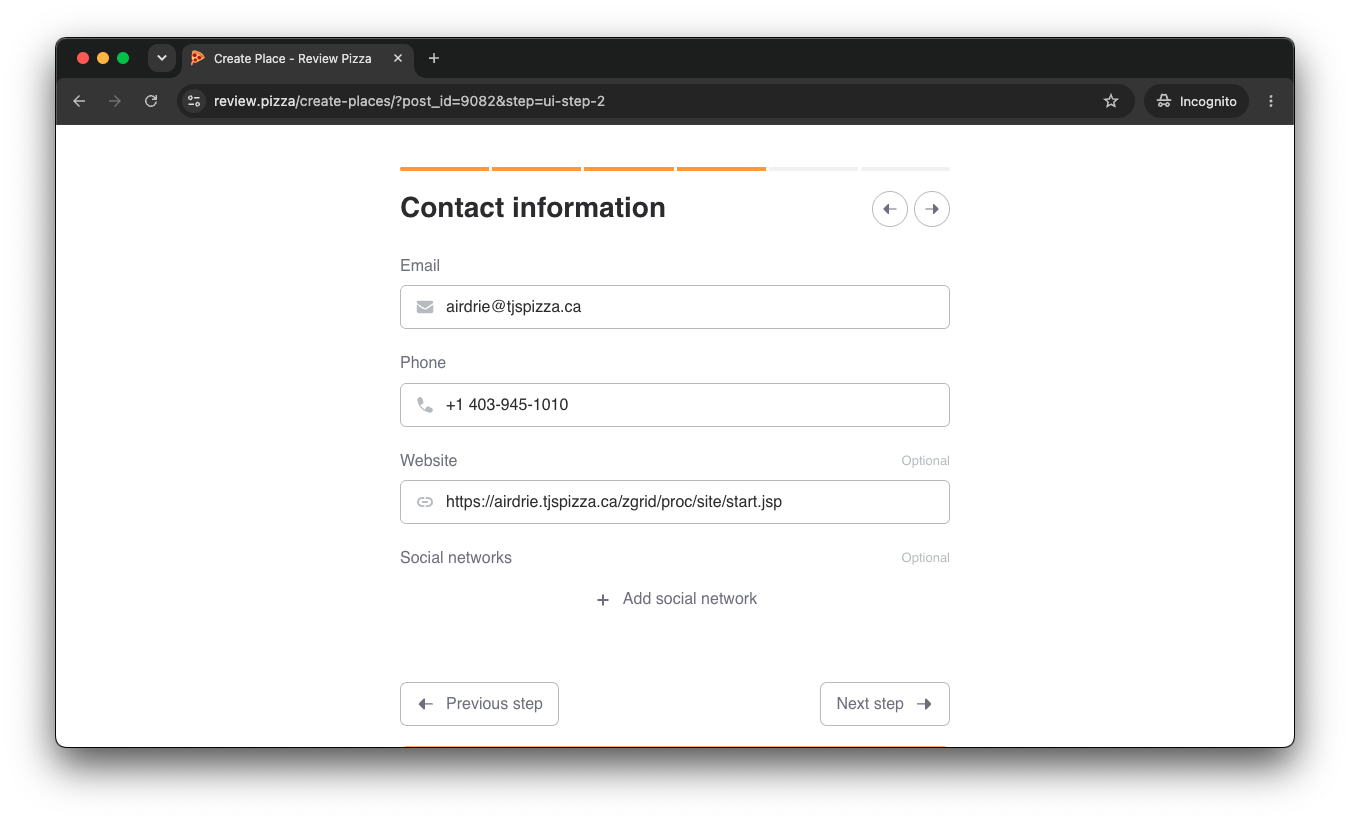
Enter your official business Email and Phone number.
Add your direct online ordering Website link (so fans can order directly from you without big 3rd-party app commissions).
Click Next step or Save changes.
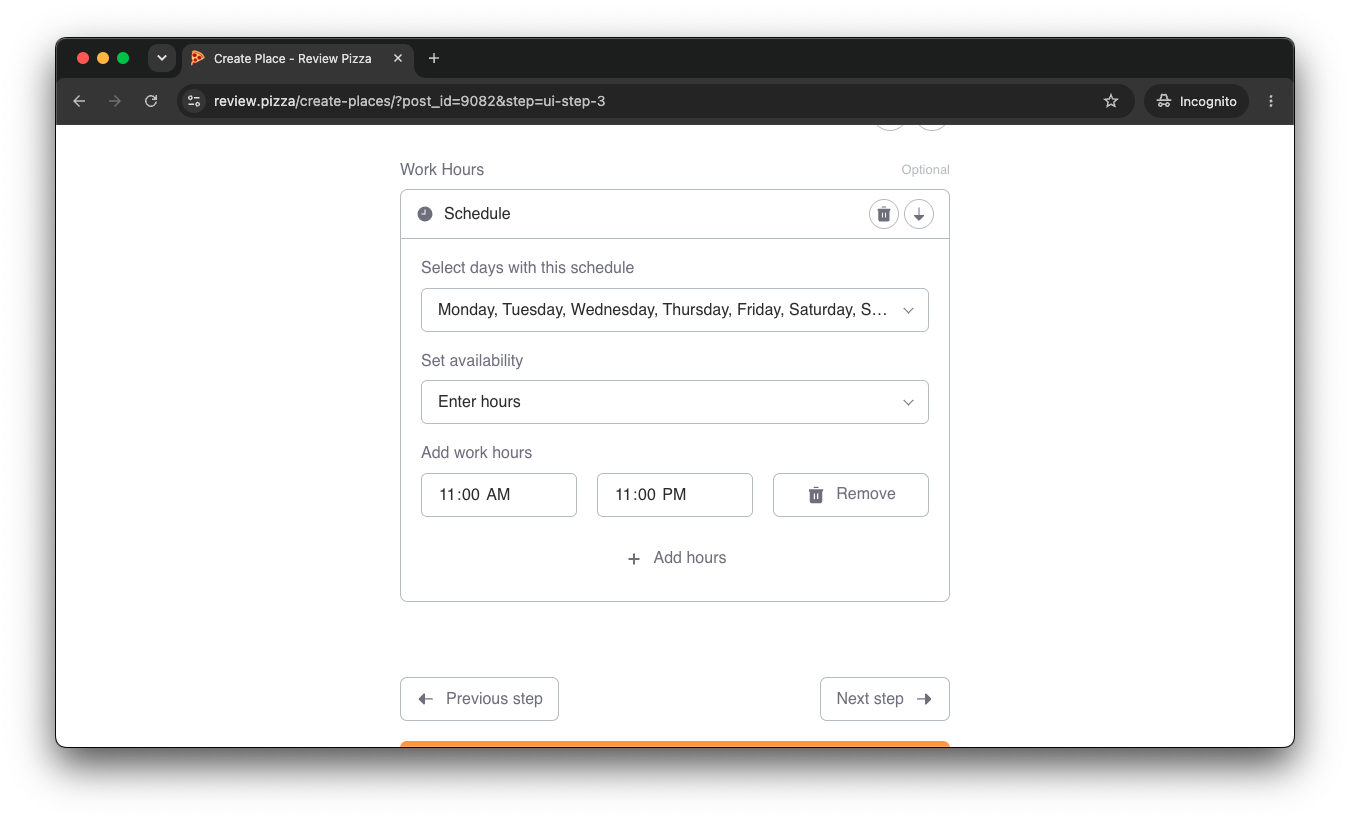
Go to Work Hours and select the days of the week your shop is open.
Enter your opening and closing times (e.g., 11:00 AM – 11:00 PM).
Click Next step.
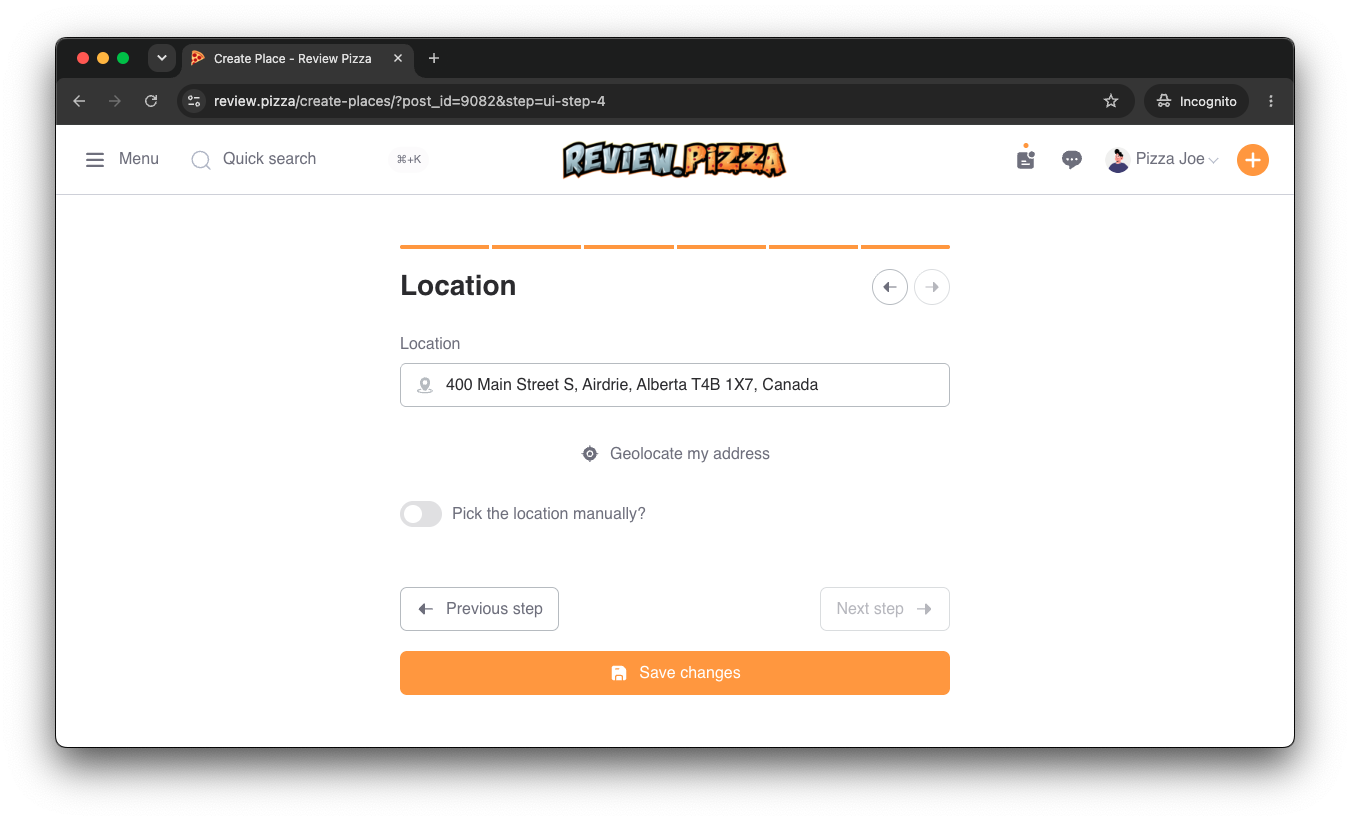
Under Location, enter your store’s exact physical street address (or click Geolocate my address).
Click Save changes.
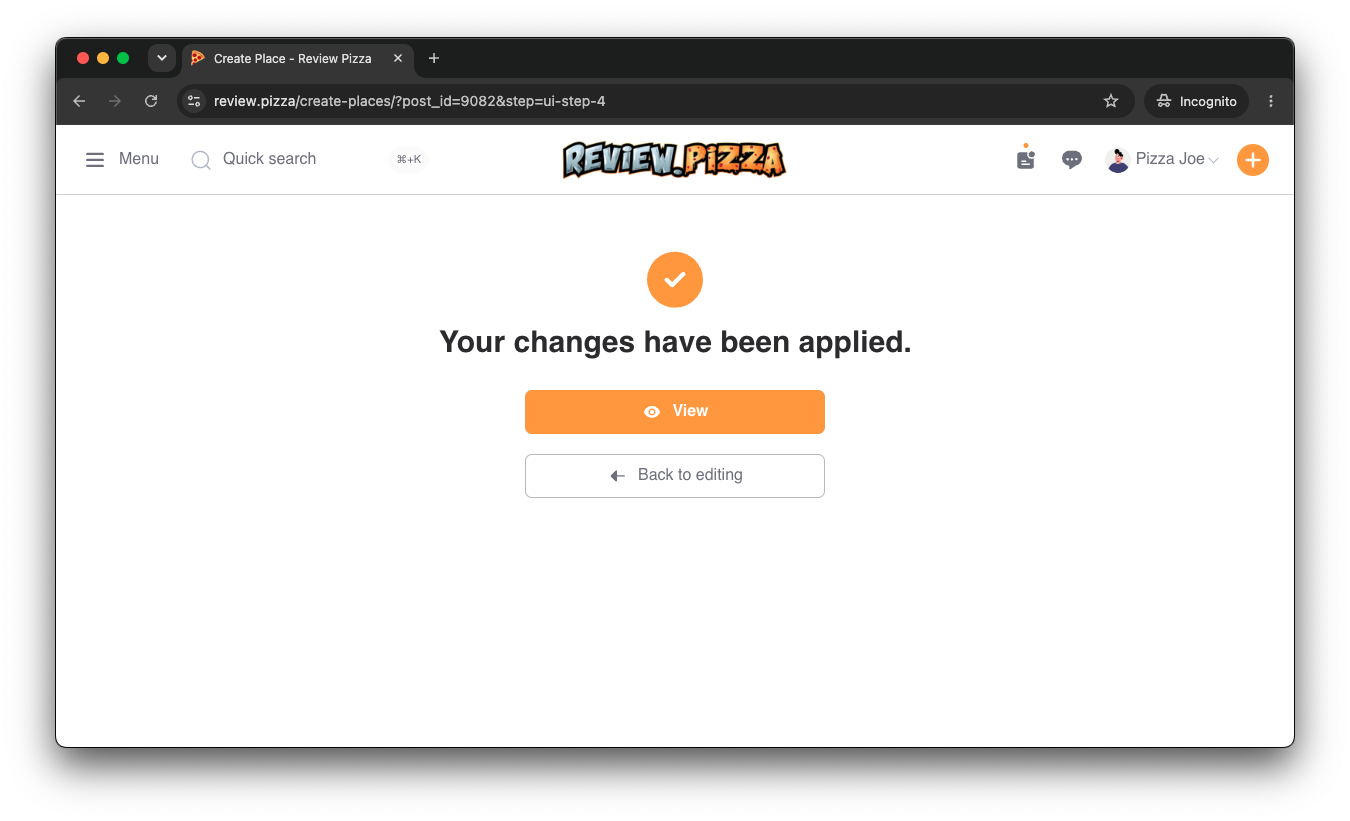
You will see the confirmation screen: “Your changes have been applied.”
Click the orange View button to view your live profile.
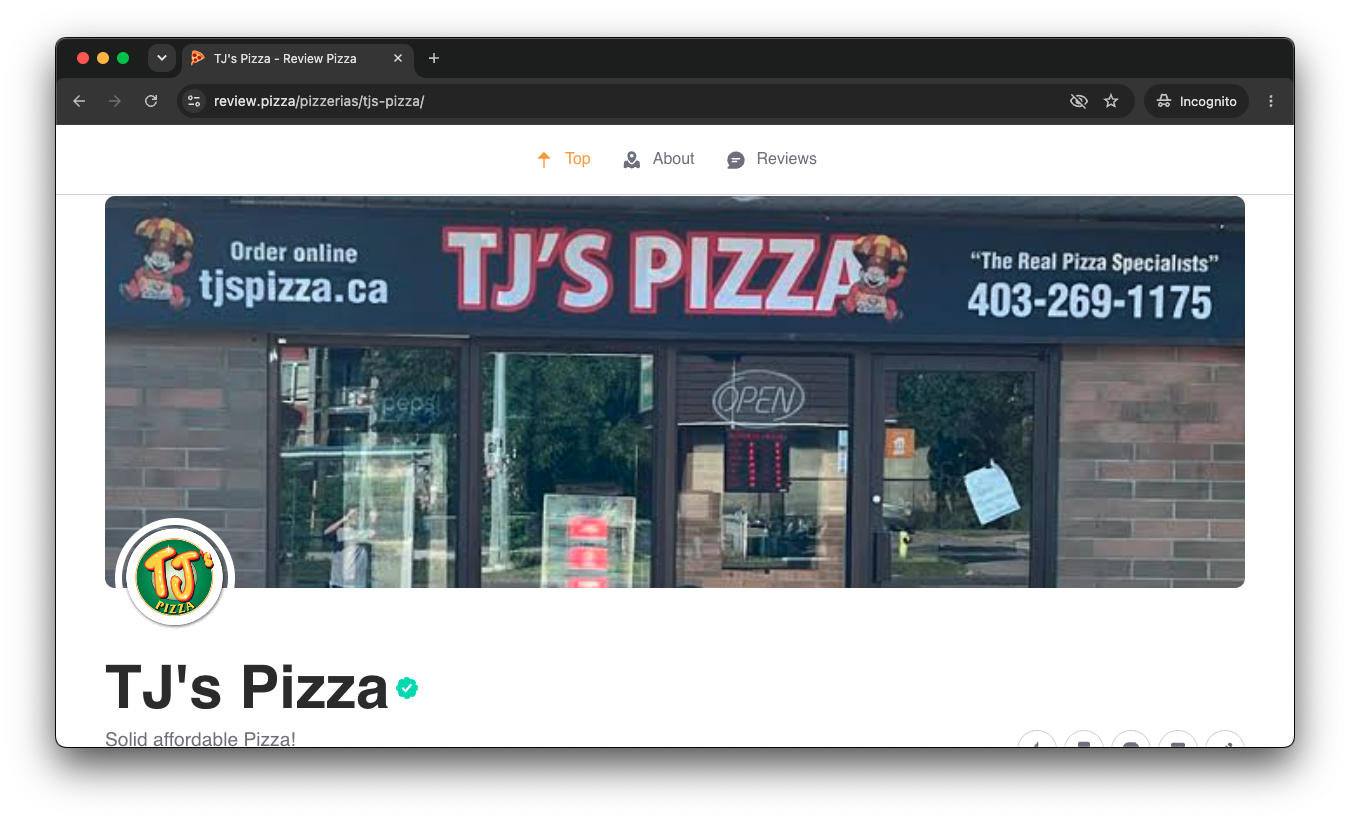
Congratulations! Your pizzeria is now officially claimed and verified with a green checkmark badge next to your title.
📧 Having Trouble Claiming Your Spot?
If you run into any issues during verification, send an email to
[email protected]for direct support!